Showing posts with label DIY. Show all posts

Tuesday, April 22, 2014

The Dresser: Part Two.One

Hello lovelies!

This is a contuniation my my last DIY post. This is what the dresser looks like now that it is all painted and ready to go. Tomorrow I will be posting Two.Two of this post in the Reduce, Reuse, Reorganize section showing some of the things I will be putting in or on the dresser, decor and toiletries for the guests. This is a simple post on the furniture so far. 

This has been a very fun and very challenging project. It turns out, I am not a painter. At all. My work looked so bad! I am a great sander, and a great furniture lifter, but when it comes to painting, my husband is actually the one to go to in the family apparently. He has been working his butt off in every area of the house and I could not appreciate him more, but it has definitely been long days and hard work! 

This is the second installment of this three part blog post. 

This is the dresser right now:


Isn't it gorgeous?! This was so fun and still pretty inexpensive. We got a quart of basic white wood paint, we didn't need anything fancy. That was about $20 CND at Home Depot. (PS: They are so helpful there! They answered all of my questions and they are always so nice!) And then we picked up a kit of 10 knobs with screws in Walmart for $10 CND. They are perfect. I love them. 

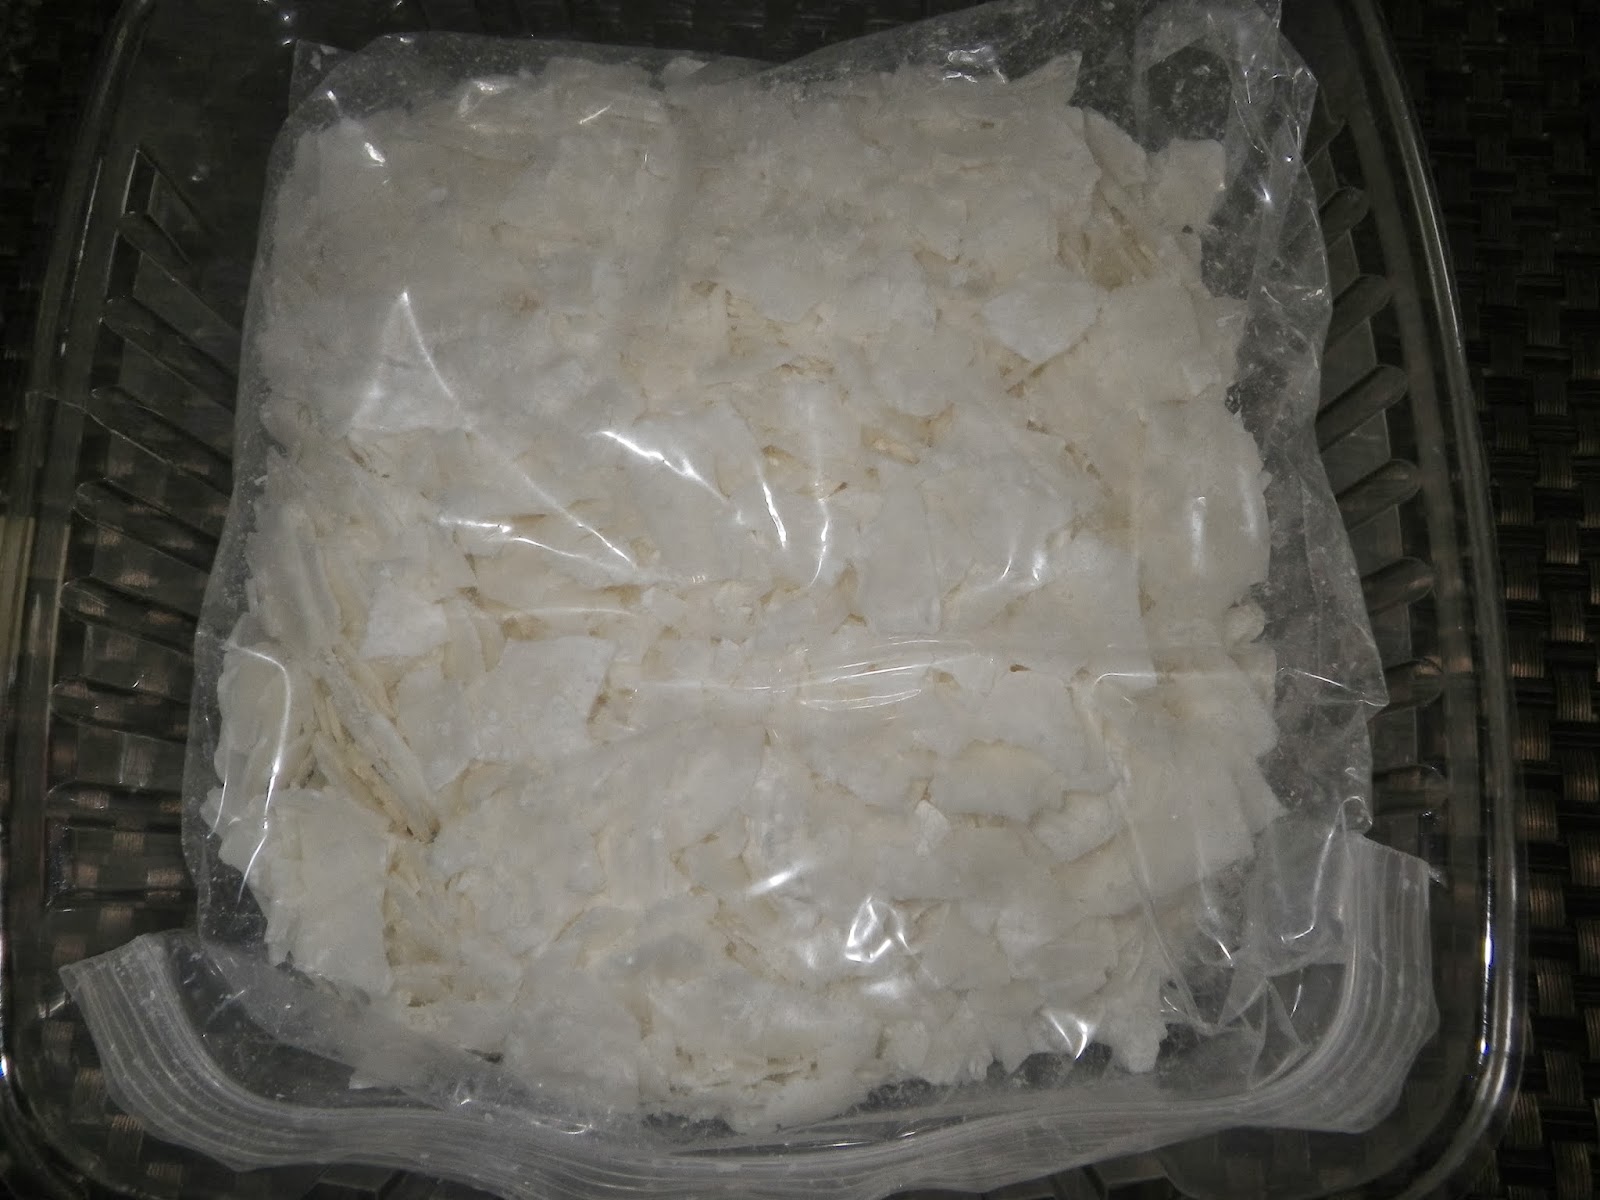
We also needed some wood fill because the dresser only had single knobs before, and the new knobs were double-screw knobs or U-shaped knobs, as you can see. So my husband filled in the old holes, sanded and then painted a thin coat over. He then drilled two new holes where the screws were going to go, and then screwed the handles in tightly. We also paid about $6 for some drawer liner. The bottom of these drawers were horrible. so I cleaned them as best I could, but the wood still looked bad, so we simply cut the drawer liner to fit the shape of the drawer, and smoothed it out over the bottom of the drawer. 

The dresser will sit for this whole week with nothing on it so it doesn't ruin the paint, and then it will be ready to fill with amazing things! 

We also refinished the bookcase and the entire bed frame.  We used a 1 inch, thin bristle brush to do the edges and a microfiber mini roller to do the main body of the painting. Next week, make sure you come back so that you can see the whole package wrapped up and ready for my best friend to come and stay with us. 


I hope this filled you in a little on what I have been p to that has kept me so darn busy and I hope to see you next week! Make sure to swing by tomorrow and check out some of the things I will be putting in and on the dresser. 

Warm wishes


Wednesday, March 26, 2014

The Dresser: Part One

Hello everyone! 

I have been a very busy little bee lately, which is why I haven't been able to post very regularly. I am trying though! I promise! 

Today's DIY is a big one... refinishing a dresser. For my guest room, I am refinishing and upcycling several pieces of furniture. The theme for the room is grey and purple and white, which I think has a very lovely look to it. We have a bright purple focus wall, and a very very light grey on the other three walls. I will keep you up to date on what i do in this room, because i think that this is the biggest DIY project I have done so far. 

But today, I am focusing on the dresser. this is an older dresser that I received from my mom and dad when I was younger. It has seen better days. unfortunately, I abused this lovely dresser when I was younger, carving things into it and spilling stuff onto it. It has been brave, and now it gets a make over. I am painting it white because with that bold purple wall, I don't want anything too loud, and I want a very light and bright feel to the whole room. 

I have sanded down the drawers and repainted all of them. I just repainted the front so far. Because they are dirty and stained and not pleasant to look at on the inside, I am going line the inside a light floral pattered drawer liner, and I will be replacing the knobs on the dressers as well, hopefully with something beautiful and ornate looking. 

These are the pictures of me doing my sanding and my painting. Again, I have only done the front of the drawers for right now. I want to look at other DIYs for refrence to see if other have painted the entire drawer, or left them partially wood. What do you think I should do? 


I am using a Black and Decker Mouse sander with P120 (medium) grit paper on it. I am also using a microfiber roller with Behr primer and paint in one paint in white (literally the color you get when you pick the can off the shelves) in an eggshell, I think. I will let you know when i post the second part of the adventure on Tuesday! These dressers only have two coats of paint on them. In order to cover everything, I will probably need to put on two to three more coats. Then they will sit for a week while i work on the body of the dresser and a few other pieces. I am so excited!

Let me know what you think I should do, and let me know if you have any idea on how to update old furniture. 

I hope you enjoyed these little pictures, and i hope that you have a wonderful day and remember: You Can DIY Too!

Warm wishes. 


Wednesday, March 5, 2014

A Very Simple Candle, made by YOU!

Hello all,

I am going to show you how to make a very simple candle.

All you need (and all these can be found at your local craft shop, I got all my stuff at Micheal's) is:

A metal (aluminum) container to melt wax in
Wax
A jar
Fire safe adhesive
A wick
Dye
Scented oils, if you so choose


On low heat, melt your wax. I simply filled my jar up with wax flakes and then emptied it into the metal caraffe.


While your candle wax is melting (it will happen quite quickly, so don't leave the room!!!) glue the wick to the bottom of your jar.

Hold it there for about a minute to let the glue set, and then give it until your wax is ready to pour to dry.

Once wax is fully melted, add in your dye. Be careful! A little goes a long way!

Then, while that is combining, give your candle wick a little tug to make sure it is in place.


 If you find that your glue is not dry yet, hold off on pouring your wax. This will end badly. Instead, give the glue time to dry, about 30 minutes to an hour, and now you know for next time, that you need to glue your wick well in advance. If you need to give your glue time to dry, then take your wax off the stove, you can always remelt it later.

Once your wick is in place, slowly pour your wax into the jar, making sure to avoid the wick.

Let the candle rest over night.

Light it and enjoy the beautiful home made candle that you made for your house.


Warm wishes.


Tuesday, February 4, 2014

DIY Earrings

Hello again, 

So I wanted to do this post to show you guys how easy it is to make your own earrings. I will doing this for different pieces of jewelry throughout the year, but right now I have the materials to make some earrings, so I decided to make those for you today. 

It is so simple and all of the materials you can find at your local craft store for very very cheap. I think I bought all these things for less that $5. I mean it. You can make beautiful pieces of jewelry that no one else will have that you can wear with pride. And when people ask you where you got your earrings you can smile and say, I made these. And watch the shock on their faces. It makes you feel all warm inside. 

So, all you need are two pairs of needle-nose pliers, a pair of snips, copper wire, earring medalions of your choice, beads of your choice and earring hooks. 


 Now, cut a length of wire about 6 inches long. 


Next, thread it through the decorative part of the earring. 


Next, tie a very tight double knot, using the pliers as your fingers to ensure that the knot if very tight. 


Next, thread both sides of the wire through your bead. 


Then, tie both of the wires through the earring hook making sure to double knot it and make sure it is secure. 


Cut off the excess, repeat with the other earring and you have yourself a very pretty pair of earrings that you paid less than $5.00 for. 


Happy crafting!

P.S. I will post a picture of myself with the earrings on tomorrow when I lost my outfit of the day. 

Warm wishes. 


Thursday, January 23, 2014

DIY Lip Plumper

Hello all, 

I just made this product the other night. It was so easy and made with easy and accessible ingredients that I found in my kitchen. 

Again, if you buy organic, then this product will be organic. I use this product when I want plumper lips before I put my makeup on. If you're really good, then you could possibly even leave it on your lips while you are doing your make-up and then just wipe it off and apply your balm and your lipstick or gloss. 

I have only used this product twice so far, but I think if you are looking for a lip plump that you don't have to on the upwards of $25.00 for, then I would recommend using this. It is completely customizable for your lips. I would recommend using a lip scrub before you use this because it also helps plumb your lips and make them more red. 

I hope this works for you, I thought it worked for me, it left my lips tingling and full and red. 

What you need:
Brown sugar
Ground Cinnamon
Ground Cardamon
Cayenne pepper
Ground cloves 
White sugar, fine
Olive oil
Honey
Pure peppermint extract
A small travel container

Mix 2 parts cinnamon, one part brown sugar, one part white sugar, one part onlive oil, one part honey, one part peppermint extract, one part cayenne, one part cardamon and one part clove. Mix on a peice of wax paper. It should resemble wet sand, but very dark. It has a beautiful spicy aroma, and you can't even taste the cayenne. 


Hopefully this will tingle and help make your lips nice and full. 

Top with your favorite lipstick or gloss. For a big lips tutorial, come see me again soon. 

I hope you enjoyed this tutorial. Very easy and very simple. 

Warm wishes. 

DIY LIp Scrub


Hello everyone!

Have you wanted a lip scrub to exfoliate your dry chapped lips in the winter? What about all year round? Want to be able to go into your kitchen and find your lip scrub all the time? Then this is the post for you!

This is the easiest lip scrub I have found. I have been using it for a few months now and it is just as good as a store bought exfoliator, and you can eat it! It can even be organic if you buy organic ingredients. And the best part: these are items that are in more people's kitchen all year round. 

I hope you enjoy this tutorial. 

This is what you will need:

brown sugar
honey
white sugar, the coarser the better, but regular sugar will be just fine
olive oil, or your favorite oil (sunflower, walnut, flaxseed, grapeseed, etc
a small travel container, you can find these at Walmart and drugstores like Walgreens and Shoppers


One part brown sugar
Two parts white sugar
One part honey
One part oil

Mix together on a piece of wax paper and then pack into the tin

That is it! It's that easy!!! Your mixture should resemble building sand, crumbly but sticks together a little. 

I hope you enjoyed this very easy tutorial. 

Warm wishes. 

Tuesday, January 14, 2014

DIYDIVA

Hello again,

So unfortunately I don't have extraordinary things that I have DM... that doesn't work.... done myself lately, but I need to get all these pages up so that I have somewhere to put all of the really great things that I will soon be... doing myself. For more lovely DIY posts, stay tuned!