Showing posts with label tutorials. Show all posts

Sunday, January 19, 2014

The Make-Up Every Mom Should Know- Better Lighting

Hello again, 

So as stated in my "The Make-Up Every Mom Should Know" tutorial, I had horrible, all over the place lighting with a thousand interruptions and not a very good backdrop. I have now moved my work space so that I have a nice area to take pictures, not only of me but of the products as well. 

I just want to remind you that I have oily combination skin that I do need to mattify every couple of hours. This is not a simple mattified look without touching up or anything like that. This is just a fresh faced simple look that mothers, high school students and teaches alike will appreciate and be able to accomplish in minimal time. 

So, with the attention of HelperBaby and the soft scents of my lovely new candles I will re-do the make-up tutorial and hopefully this will show you how I make my skin more flawless and give you a more peaceful viewing experience. That sounded really weird. 


Anyway, onto the tutorial. 

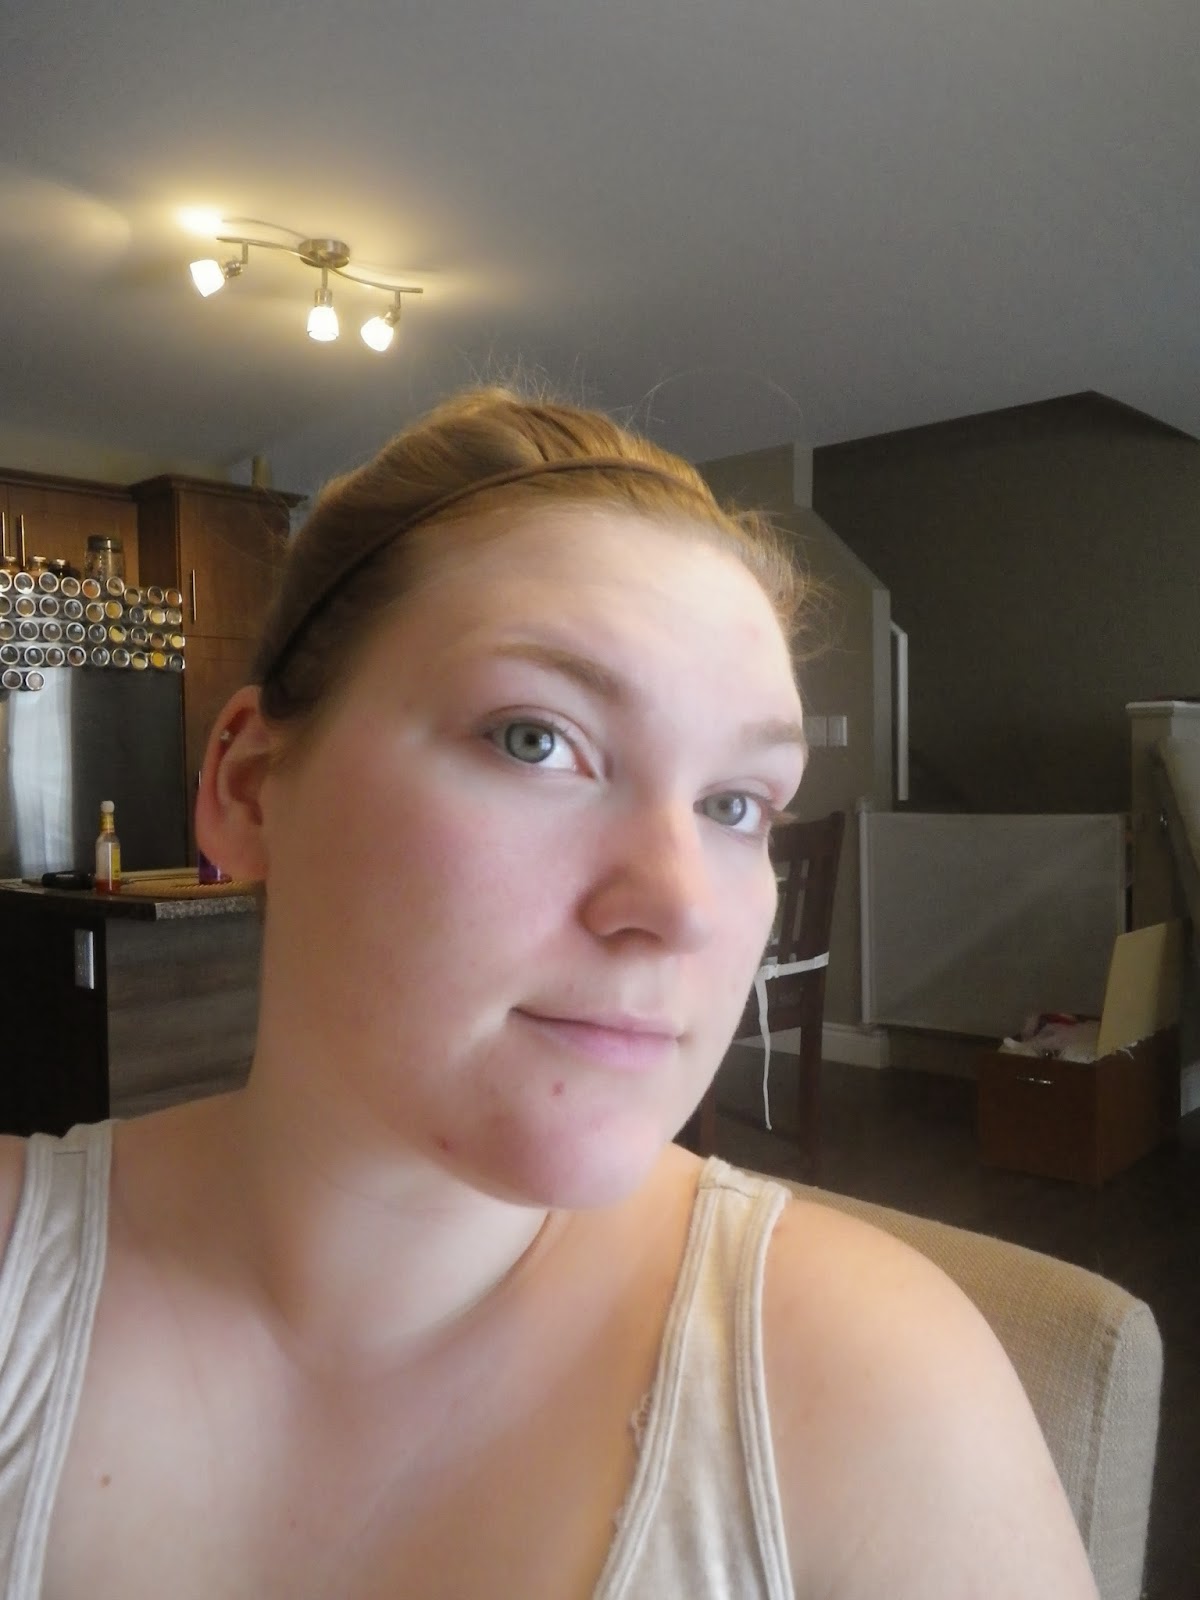
I start out with a clean face. 


Next, I buff on a mineral foundation (I used Smashbox's Halo to Go in Fair, simply because that's the only one I have) using a kabuki brush. Make sure to blend it down onto your neck and up to the hairline. 


 Sorry I look so tired, experimenting with my lighting and my angles and such. I will smile more next time. 

Next I took a bronzer (pictured here: Physician's formula Healthy Glow bronzer) just to give a tiny bit of warmth to my cheeks. I would normally use a light blush, but I don't have any non-shimmery powder blushes right now, so this will have to do.


 Do whatever you think is going to look natural. If it's summer, stick with a bronzer all over your hairline, temples and down onto your cheeks. Keep it light. This is the best way to look polished without having a lot on your skin. It helps your face to feel fresh, without feeling heavy. I know for me, the sun, and summertime in general do wonders for my skin, so this is the look I do for if I want a pretty, finished look. 

Also, I apologize for my pajamas and hair. It was a long day. 

So next, I do my brows. I take this Maybelline Made for Mocha eye shadow and fill them in with an angled brush. (A brow tutorial will come when I get my brow kit.) 


Yay, brows done. Next, I conceal with my highlighting concealer. (mine is from Maybelline Dream Concealer in the lightest shade you can possibly find.) I simply dab the tiniest amount of concealer onto my finger and gently blend it on all of my blemishes to give a little more flawless look. If you have dark under eye circles then you can conceal those too, but mine aren't horrible, so I'm going to leave them alone. 

After that, I run a lid primer/concealer over my lids. I have a lot of bluish colouring on my lids because my skin is so fair and thin there. If your lids are goo, then skip this step, but I feel that I need it. 


Now that my lids are primed, I lightly press the same shade that I used for my eyebrows into my upper lash-line. I used a firm shadow brush from SOHO. This gives your upper lash line a little more fullness without weighing your eye make-up down or making the look too artificial. 


Now that my upper lash-line looks full, I put on a fine layer of brown mascara (mine is Covergirl's LastBlast in brown) just to give my eyes a more awake look. To add to this, you can swipe a nude (flesh toned) pencil across your lower waterline. My pencil was devoured by a little, white, fluffy beast who lives in my house. I won't mention any names. 


Lastly, swipe on a chap stick, tinted balm, or subtle gloss to give your lips nourishment and colour. 


I hope you enjoyed this much neater tutorial. Again, excuse the pjs, this will be my last make-up tutorial with dirty hair and pjs, I promise. I hope you all have a great night, and stay tuned for my Seafood Curry recipe (it's so simple!) and my LUSH cosmetics review. 

Have a great night. 

Warm wishes. 


Friday, January 17, 2014

Make-Up Every Mom Should Know

Hey everyone! 

I just posted my Sulfur Mask review, so if you are interested in a nice, inexpensive mask, then go check that out. 

This is my first ever tutorial. And it is complete rubbish. Entirely. I blame it on the lighting. It was sunny one minute and cloudy the next and I don't have a proper light source yet, so please forgive this horrible post. I swear I am setting up a work station downstairs so that I have a good place to work with a good light source. I will be re-posting this tutorial again when I get myself all set up. 

So keeping in mind that the photos are bad, I do actually do this for a look when I want to look put together but I don't have the time, the patience or the need to put on a full flawless coverage makeup. I use a variety of products, so use what is in your make-up collection. Keep in mind that I have accumulated my make-up for several years, so I'm not saying that you have to use these exact products to get this look, just whatever you have in your collection. 

I am not sponsored by any of these companies. I'm not sponsored by any company I ever show you. Just starting out. Maybe one day. 

Onto the tutorial!

First off, my HelperBaby is helping daddy right now. Still attempting to fix the dishwasher. 


So I get to start out by myself. Note: I normally do this with HelperBaby up my rear end or getting into something she isn't supposed to. It is so simple, you don\t have to worry about any of the products getting caky if you don't manipulate them right away. It literally takes me about 7 minutes to do this make-up. It makes me feel pretty and polished and put together which also allowing my skin to breath and my imperfections to peek through. I don't always have an hour and a half to get ready in the morning before running out the door. So this is a make-up look that is simple and fast. 

I start with a freshly washed, toned and moisturized face. I have lip balm on so that I can let it soak into my lips while I apply my make-up and I can either leave it there, apply more or apply another lip-gloss/chap stick. (For how I washed my face before this tutorial, see tomorrow's post on my LUSH products.) 


Again, sorry about the lighting. I swear I will re-post this with better lighting. 

Oh look, now HelperBaby is helping herself to my apple. 


Anyway... so I take my primer (I used Smashbox's PhotoFinish Primer) all over my face, including my eyelids. 


Nothing shimmery or dewy, just very natural looking. I helps the mineral foundation stay longer and buff on better. Next I take a mineral foundation (Smashbox's Mineral Foundation in Fair) and using a fat Kabuki brush, I buff that all over my face, blending it down onto my neck. This reduces redness and makes my skin look a little more even. 

There we go. Now, I take a illuminating concealer and put that on my eyelids, I used the Maybelline Highlighting Concealer. 


 Now that my lids are prepped for eye products, we can get that out of the way while everything settles in on our face. (I also concealed my under eye circles, but if you don't have any, or yours aren't that bad, don't bother. The more you can cut out, the better.)

Oh look, I have another visitor. 


I have a feeling this tutorial took me a lot longer than seven minutes. 

Moving on. I take a brown eye shadow and using an angled brush, I just press the eye shadow in a very thin line across my upper lash line. It should hardly be noticeable, it just brings a little more volume to your lashes. 


Excuse my hair. I was having a bad everything day today. *sigh*

Next I take my brown LashBlast Mascara from Covergirl (it is the best mascara I have ever found) and put that on my top and bottom lashes.Ii use brown because this is the closest colour I have to my natural eyelash colour. If you can get clear, that would be the best, but if you like dark black lashes, then go with that. It's whatever you think will look the most natural on you. 


I feel like I have skipped a step, and that is because I have... oh jees. I should just quit while I'm waaay behind. 

I defined my browns with a brow pencil in dark blonde/light brown by Maybelline. If you don't want to do this step, you don't have to, I just think it makes your eyes the focus of the face instead of those little imperfections. If you have a nude eye pencil, run it across your waterline to create a more awake and wide eyed look. I don't have one, so I had to skip this step, but that is because the dog chewed my nude eye pencil up. Again, I am a mess today. 

 Okay, so after your eyes are taken care of, you can move onto your cheeks. If you think that you have enough pink on your cheeks, then omit this step, but I wanted a little colour so I used a big fluffy blush brush to apply a light light pink blush from the apples of my cheeks to my hairline. I used my Ulta Palette Blush from the Glitz and Glam Palette in AfterGlow. 


I then give you three options. Either leave this as the finished look, and you will look natural and fresh. You could put on a light pink gloss to look a little flirtier. I chose a gloss that fades into your lips overtime and moisturizes them. Or you could go for a tinted balm to a pretty finish that isn't too noticeable. I used my Bert's Bee's collection lip gloss (in Sweet Pink) and tinted balm (in Roses). I prefer the third option. 


I hope you found this tutorial helpful, or funny, or something. if you like it, leave a comment. Again, sorry about the lighting and all the craziness in the background. I will be setting up a little station for myself soon. 

Tomorrow I am going to Ottawa, so for a sneak peak at my post, check me out on Instagram. I just started there too, so the more the merrier. Have a great night, and if you use this look, post it as a picture and let me see! Happy make-up-ing. 

Warm wishes.